Mac OS built-in apps for screen/cam/audio recording: QuickTime X
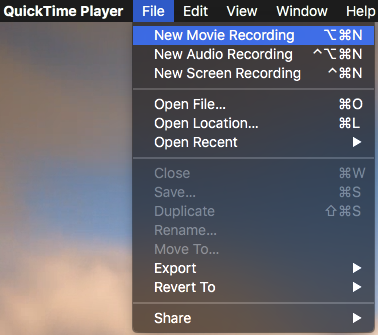
New Movie Recording
Go to File > New Movie Recording and QT X will open a small window shot of yourself and a big red record button at the bottom.
 QT X lets you record video using your Mac’s iSight camera. However, what you see is not a mirror image but what the recording will actually look like: move your head to the left and the video will show you moving it to the right.
As you record your video look to the lower right of the control bar and you’ll also see an approximation of how big the final file will be.
This can be useful to know if you plan on emailing or uploading it to Canvas or other services with limited upload capacity.
New Audio Recording
 The easiest way to achieve better quality audio recording is using a pair of headphones with a built-in mic like Apple’s headphones. Or you could use a USB microphone such as the Snowball mic. But your Mac’s built-in microphone would do just fine but make sure you sit right in front of your screen.
To record an audio choose File > New Audio Recording.
Choose the audio input of your choice.
As you talk you should see the audio levels move in the bar above the record button. Hit the Record button and talk away.
New Screen Recording
File > New Screen Recording.
This feature does exactly what it means - records your screen and everything that is in forefront. It is somewhat similar to Panopto or Tegrity but is limited in features.
You can also record audio while recording the screen and the mouse clicks.
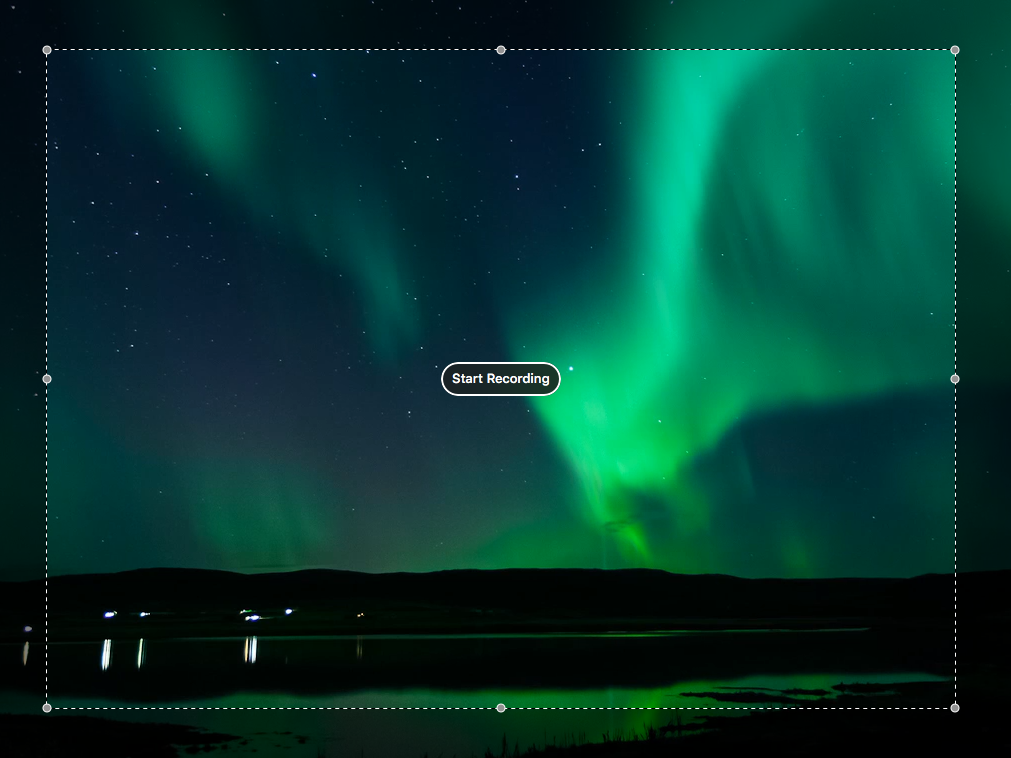
Choose between recording the entire screen or just a portion of it.
After hitting the record button click and drag on the part want to record, click ’Start Recording' and voila.
NOTE: The only issue I have with QT X’s screen recording feature is that it would not record the audio from the video. You should be able to use the built-in microphone and by putting the volume up but the quality of the sound will be degraded. Here, I’ll mention one app that’s not made by Apple. You can use an app like Google’s Soundflower to route the sound inside your Mac to be able to record it in good, almost original quality.
Exporting
When you’re done recording find the stop button in the upper right side of your screen. It should be placed alongside with your clock, battery, WiFi signal, etc.
The recording will open up and you can play it now.
You can save the video at this point or export it. The two options are practically the same.
Use the export feature if you would like to compress the video to a smaller size.
Editing
QT X could be used to edit any video compressed as a QuickTime codec [mov, mp4, aiff, mp3].
There are a few limited options for editing but two of them are more useful than anything else.
Flip Vertical
Flip your video Horizontally or Vertically. If a recording from your phone shows upside down on your Mac then you could use the Flip Vertical option. You would need to Save or Export the video after this adjustment.
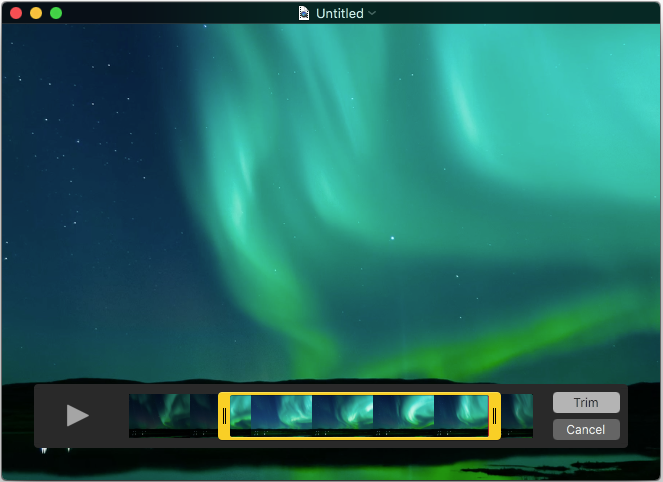
Trim
Trimming is very basic but a bit tricky and I always suggest working with a copy of your original recording. Trimming is 'destructive’ and if you don’t have another copy of the original you won’t be able to revert the changes.
Trimming saves only the selected part of the video and it could be used to cut out the shaky beginning or end of the recording.
You would need to Save or Export the video after this adjustment.